OK here is another question i have heard time and time again in the various forums and facebook groups i am in.
What kind of filler should i use?
let me remind you that these are my opinions only, many different builders have had success with different types of fillers but for reasons that are my own, i like what works for me.
first lets take a look at what we are trying to accomplish.
filler is generally used to :
- fill sink marks
- smooth joined edges so seams do not show
- mold in panel lines or other custom bodywork
- correct either damage or inaccuracies in the kit you are working on
the types of filler available can be broken down into 3 categories
- hobby directed products
- home made alternatives
- automotive directed products
Either can be broken into two main categories:
- evaporative- dries by evaporation of solvents embedded within the filler itself
- chemical- hardens by the use of a chemical reaction from the introduction of the “hardener” to the filler.
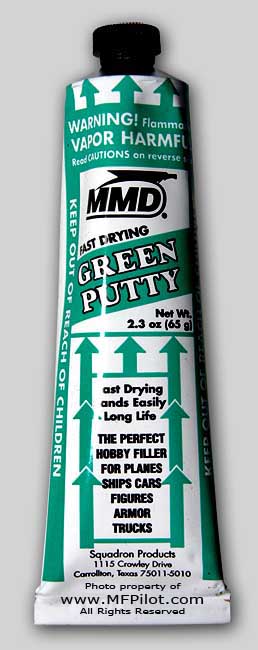
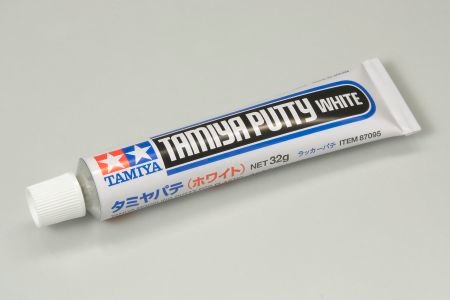
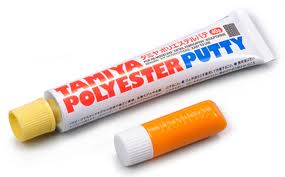
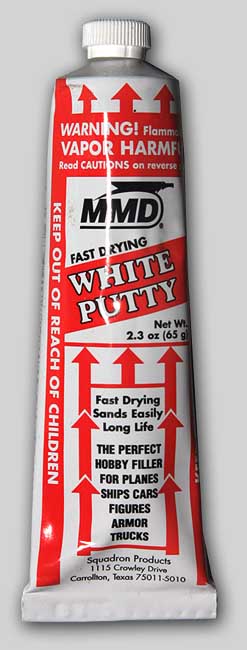
first we can take a look at some of the hobby directed products out there
group in there any of the other name brands on the market, i will explain a bit later why i avoid all but one of these products and dont let them touch my builds.
next i will cover 2 of the home spun fillers i have either used myself or seen others use with different grades of success.
- super glue with a filler
- styrene melted in liquid cement
and lastly i will go over some of the many fillers available for the automotive world
- body filler
- spot putty
- glazing putty
Now on to explain a bit of why i dont use hobby oriented fillers.
- shrinkage
- cost
- effect on finish
Shrinkage: because all but the 2 part tamiya putty are whats know as evaporative fillers, meaning that they harden as the solvents evaporate into the air, they shrink. some worse than others but they all do it. as the solvent evaporates from the filler itself it looses internal volume and (for lack of a better term) puckers on itself to fill the void. this can happen as quick as overnight or in the worst cases, it can be 3 months down the road when you look at a model you finished and put all that hard work into only to find out that there are cracks in the otherwise beautiful finish where the putty has shrunk and pulled itself apart.
Cost: basic price comparison. average price of a 2.5oz tube of squadron green putty – $3.75. thats $1.50 an ounce.
now a 36oz can of evercoat 2 part polyester glazing putty ( personal preference ) you can find online or in stores for just under 30 bucks. that comes down to about .77 cents an ounce.
Effect on finish: because 99% of hobby oriented fillers are solvent based, there is always the chance that the solvents are going to react (melting or warping) with the plastic itself. now you would not risk soaking your kit in a bath of lacquer thinner or mineral spirits for minutes, much less hours. so why would you allow something carrying that solvent to sit in one place on that same kit while you wait however long for it to dry?
* the only one of the hobby directed fillers i would use on my own builds is the Tamiya 2 part because it is not evaporative, but i still avoid it because of the cost*
home spun fillers:
a common practice to many modelers is using superglue with or without a filler material
common practice see’s the user fill a gap with some filler medium ( baking soda, corn starch, talcum powder ) then flowing thin superglue into the gap. this is normally followed with a shot of CA glue accelerant (zip kicker). the advantage to this type of filler is that it can be sanded almost immediately so there is no waiting time before work can continue. the down side to this method is that once it cured fully ( normally in about 24 hours ) the filler becomes much harder than the plastic itself making bodywork much more difficult if you wait too long.
now i have also seen people melt styrene ( leftover sprues ) in liquid cement until they are more or less a thick liquid plastic. i tried this once before to find out the result. in my findings, this is not a very viable filler. basically this method is extremely evaporative and destructive. since the solvent is made to melt the plastic you are attempting to fill it does not make much sense to try to use it to fill gaps.
Automotive directed products:
Body Filler: brand names like Bondo are most prevalent in the market but in essence they are all the same. the only problem with general body filler in use on scale models is the coarseness of the final finish. where on a full sized car the finish would be adequate to sand prime and paint. in scale the finish is not fine enough to be viable.
Spot Putty: basically spot putty is a thinned down version of body filler which has a slightly finer finish. there are two different types of spot putty, evaporative and 2 part. avoid the evaporative type if you use spot putty as it suffers the same problems as the hobby related fillers. the 2 part spot putties are adequate for most hobby related filling situations.
Glazing Putty: think of glazing putty as an ultra fine grain body filler, an almost ideal medium for our scale. when cured with its hardener, it sands easily, feathers beautifully and offers a wonderful base for any primer and paint. this is my main filler of choice. the initial cost may seem high but if you consider that one can can last even the heaviest kitbasher well over a year it is well worth the investment.
now i have already stated at the beginning that these are my own personal opinions, you are welcomed to leave your own ideas and preferences below so others might learn from them.


